Change event and collection images
Open an event or pass collection that you can edit, then select Branding. You can use a gallery image or upload separate images for the banner and listing.
Choose a gallery image
- Find Placeholder Gallery below the image controls.
- Select an image, such as Confetti. This changes both images.
- Select Save and wait for the saved confirmation.
Upload your own images
There are two image areas:
| Image | Where it is used | Recommended size |
|---|---|---|
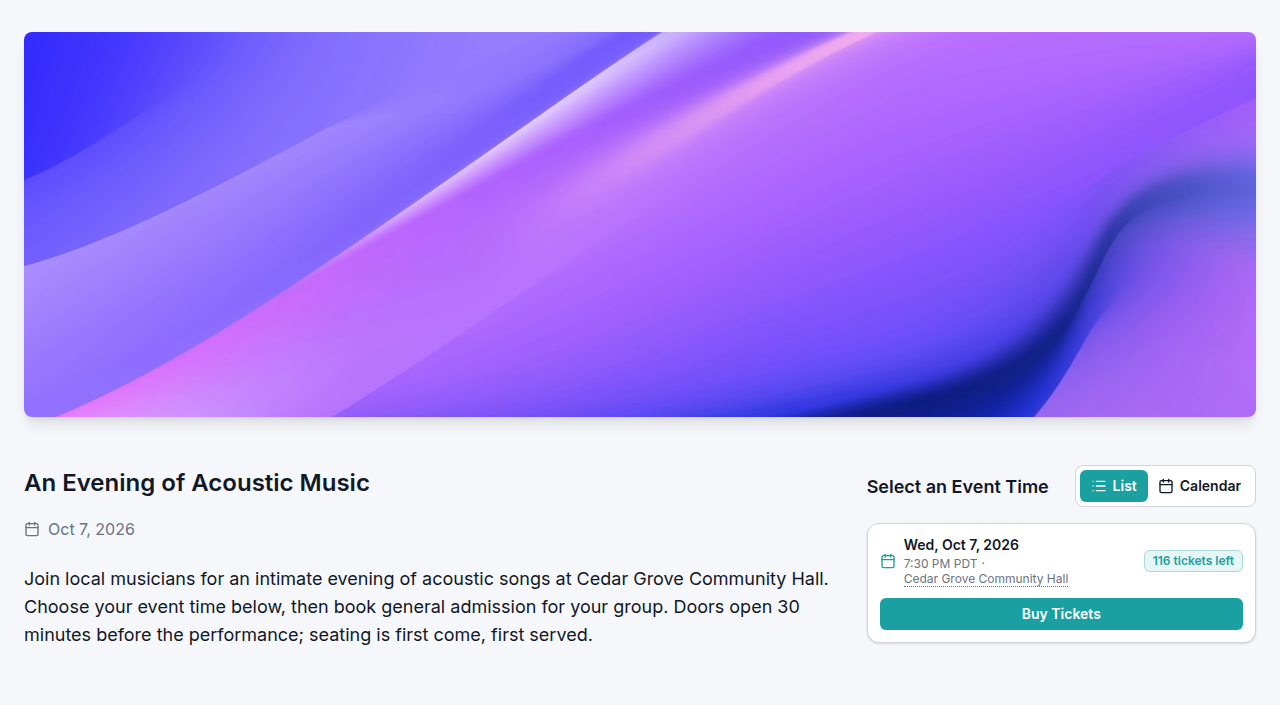
| Header Image | Banner at the top of the public event or pass page | 1920 × 600 pixels |
| Event Image or Pass Image | Listing cards and link previews | 1200 × 630 pixels |
- If an area already contains an image, select its × removal button.
- Select Click to upload header image, Click to upload event image, or Click to upload pass image, and choose your file.
- Wait for the upload confirmation and review the image.
- Repeat for the other image area if needed.
- Select Save. Wait for Event images saved. or Branding saved.
- Open the public event or pass page to check the result.
An upload confirmation alone does not save the change to your event or collection. Save before leaving the editor.
Replace or remove an image
Use the × button on the image you want to change. Upload a replacement, or leave the area empty to remove it, then select Save. Reopen the editor and public page to check the saved result.
Choosing another gallery image replaces both areas. Use the individual upload controls when you want different banner and listing images.
If the image does not look right
A too small message means the file was rejected. Choose a larger source image that meets the displayed dimensions. A Crop may be needed for best results message means the upload succeeded, but its proportions or size may not suit the image area. Prepare the artwork at the recommended size, upload it again, save, and review the public page.
If an upload fails, check the error before leaving the editor. Include the image dimensions, event or collection name, and exact message when contacting support.